Intro
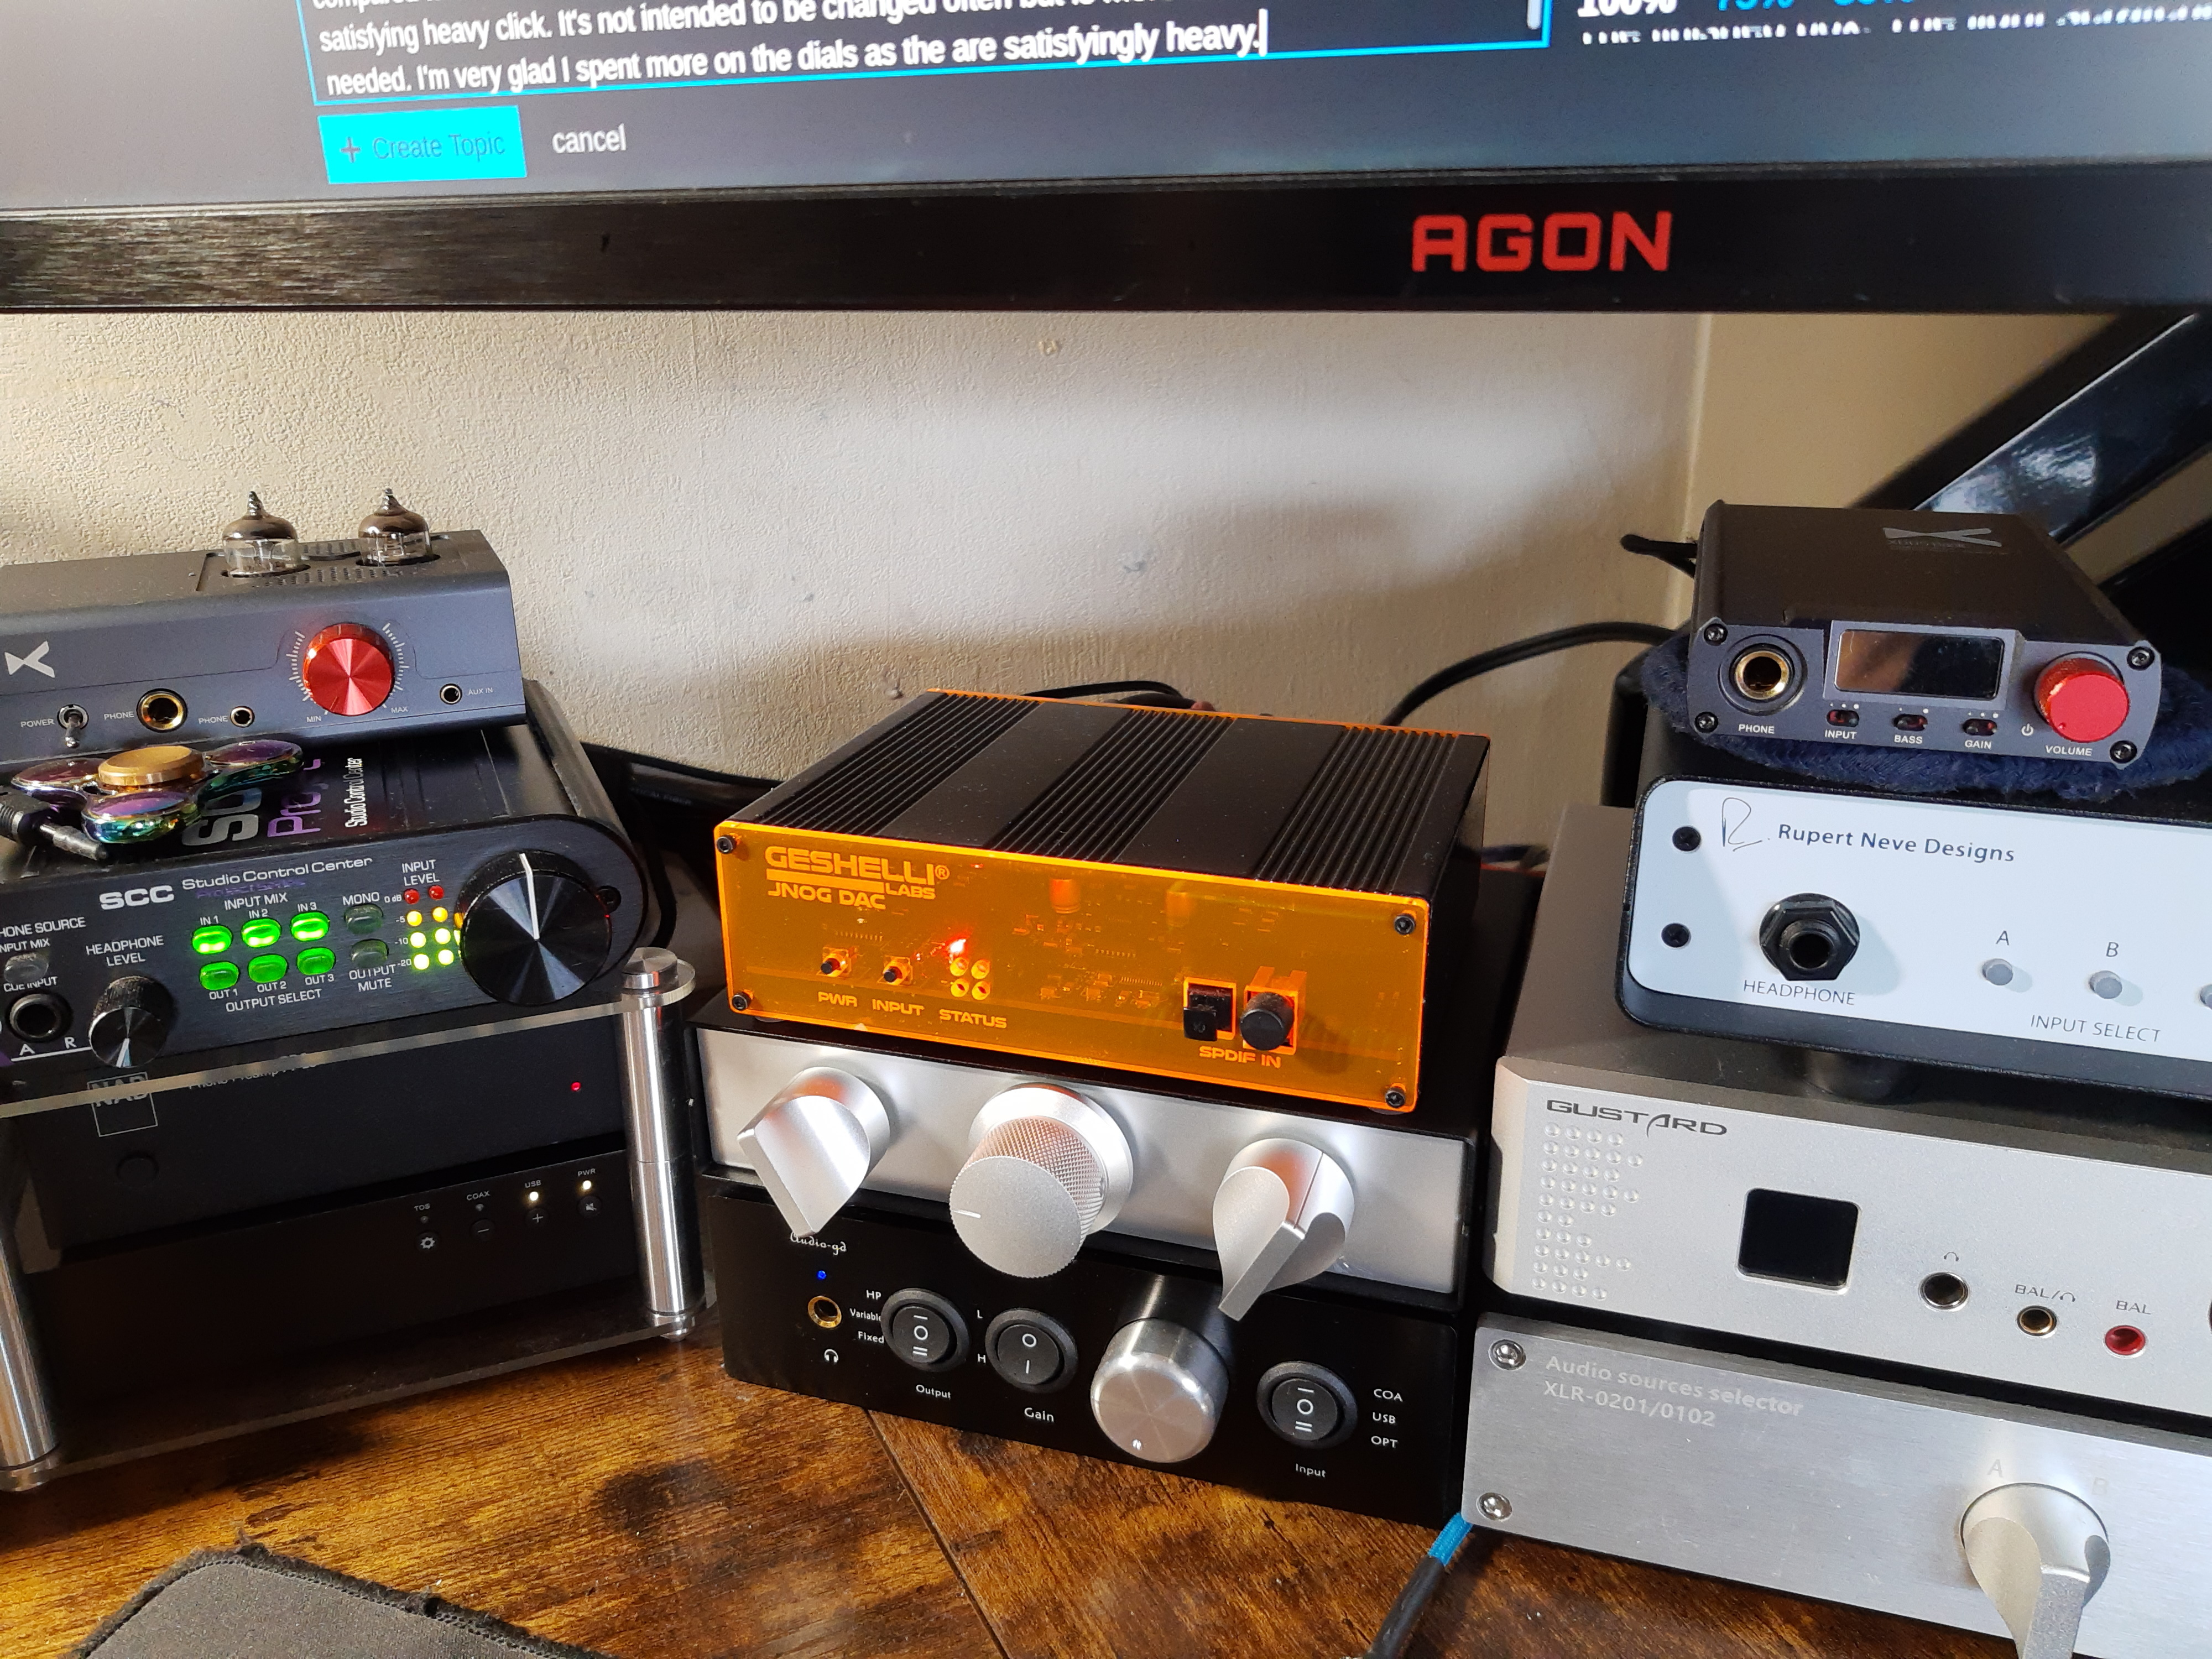
I have my chain split in two. One half is dacs straight to amps. The other uses a studio monitor controller to merge sources such as the pc, phono, xbox and route them to speaker amp or a headphone amp. While the controller has three inputs this is not always enough. I decided I needed a 3 x 3 switch box for music sources into the controller. Additionally the inputs would be coming in at differing volumes so ideally this would also be a passive preamp.
Parts List
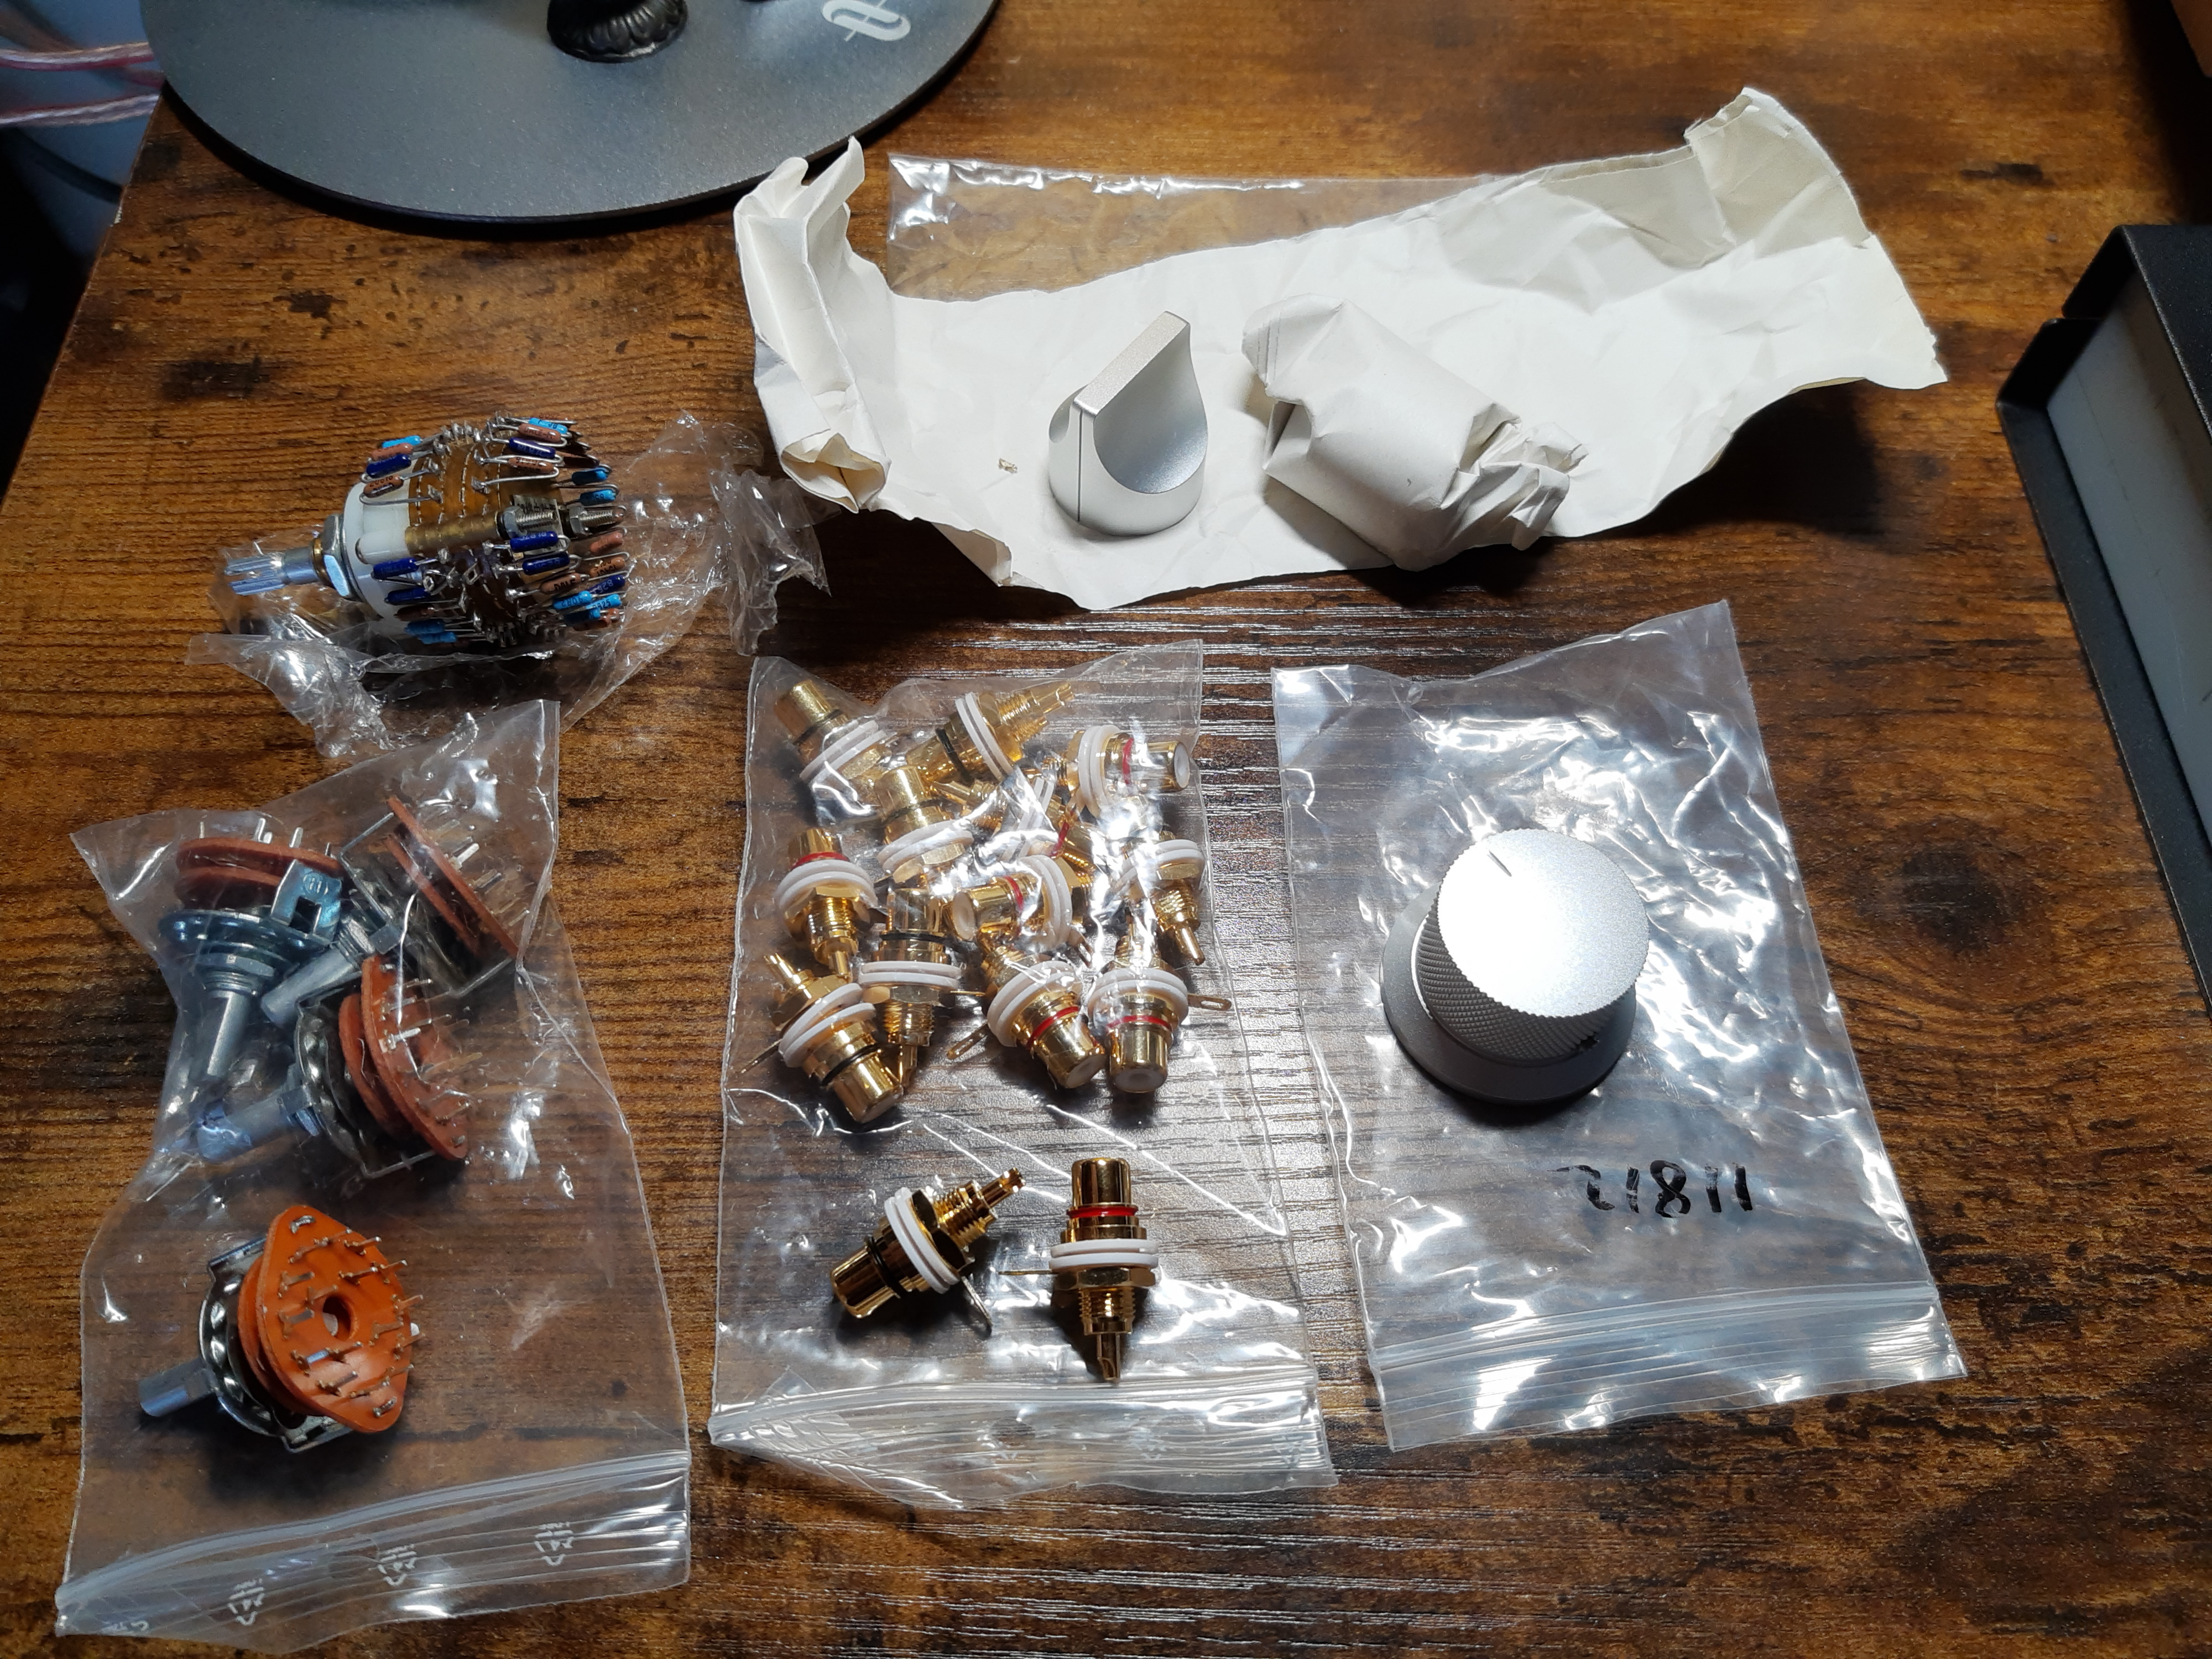
2 x RS25 4 poles 3-position selector Ø6mm Flat Axis
1 x VISHAY DALE Stereo Switching Potentiometer Shunt 23 Positions Notched Axis Ø6mm 10K Ohm
6 x ELECAUDIO ER-109 RCA Plated Plated Gold Black
6 x ELECAUDIO ER-109 RCA Plated Plated Gold Red
1 x HIFI 2000 Case ECO E401815 180x150x40
3 x aluminium knobs
1m Somer SC-Club Series MKII Highflex cable red
1m Somer SC-Club Series MKII Highflex cable black
One: Case Setup
I began by laying out the locations I would need to drill holes for the rca sockets on the rear panel and the rotary shafts on the front panel.
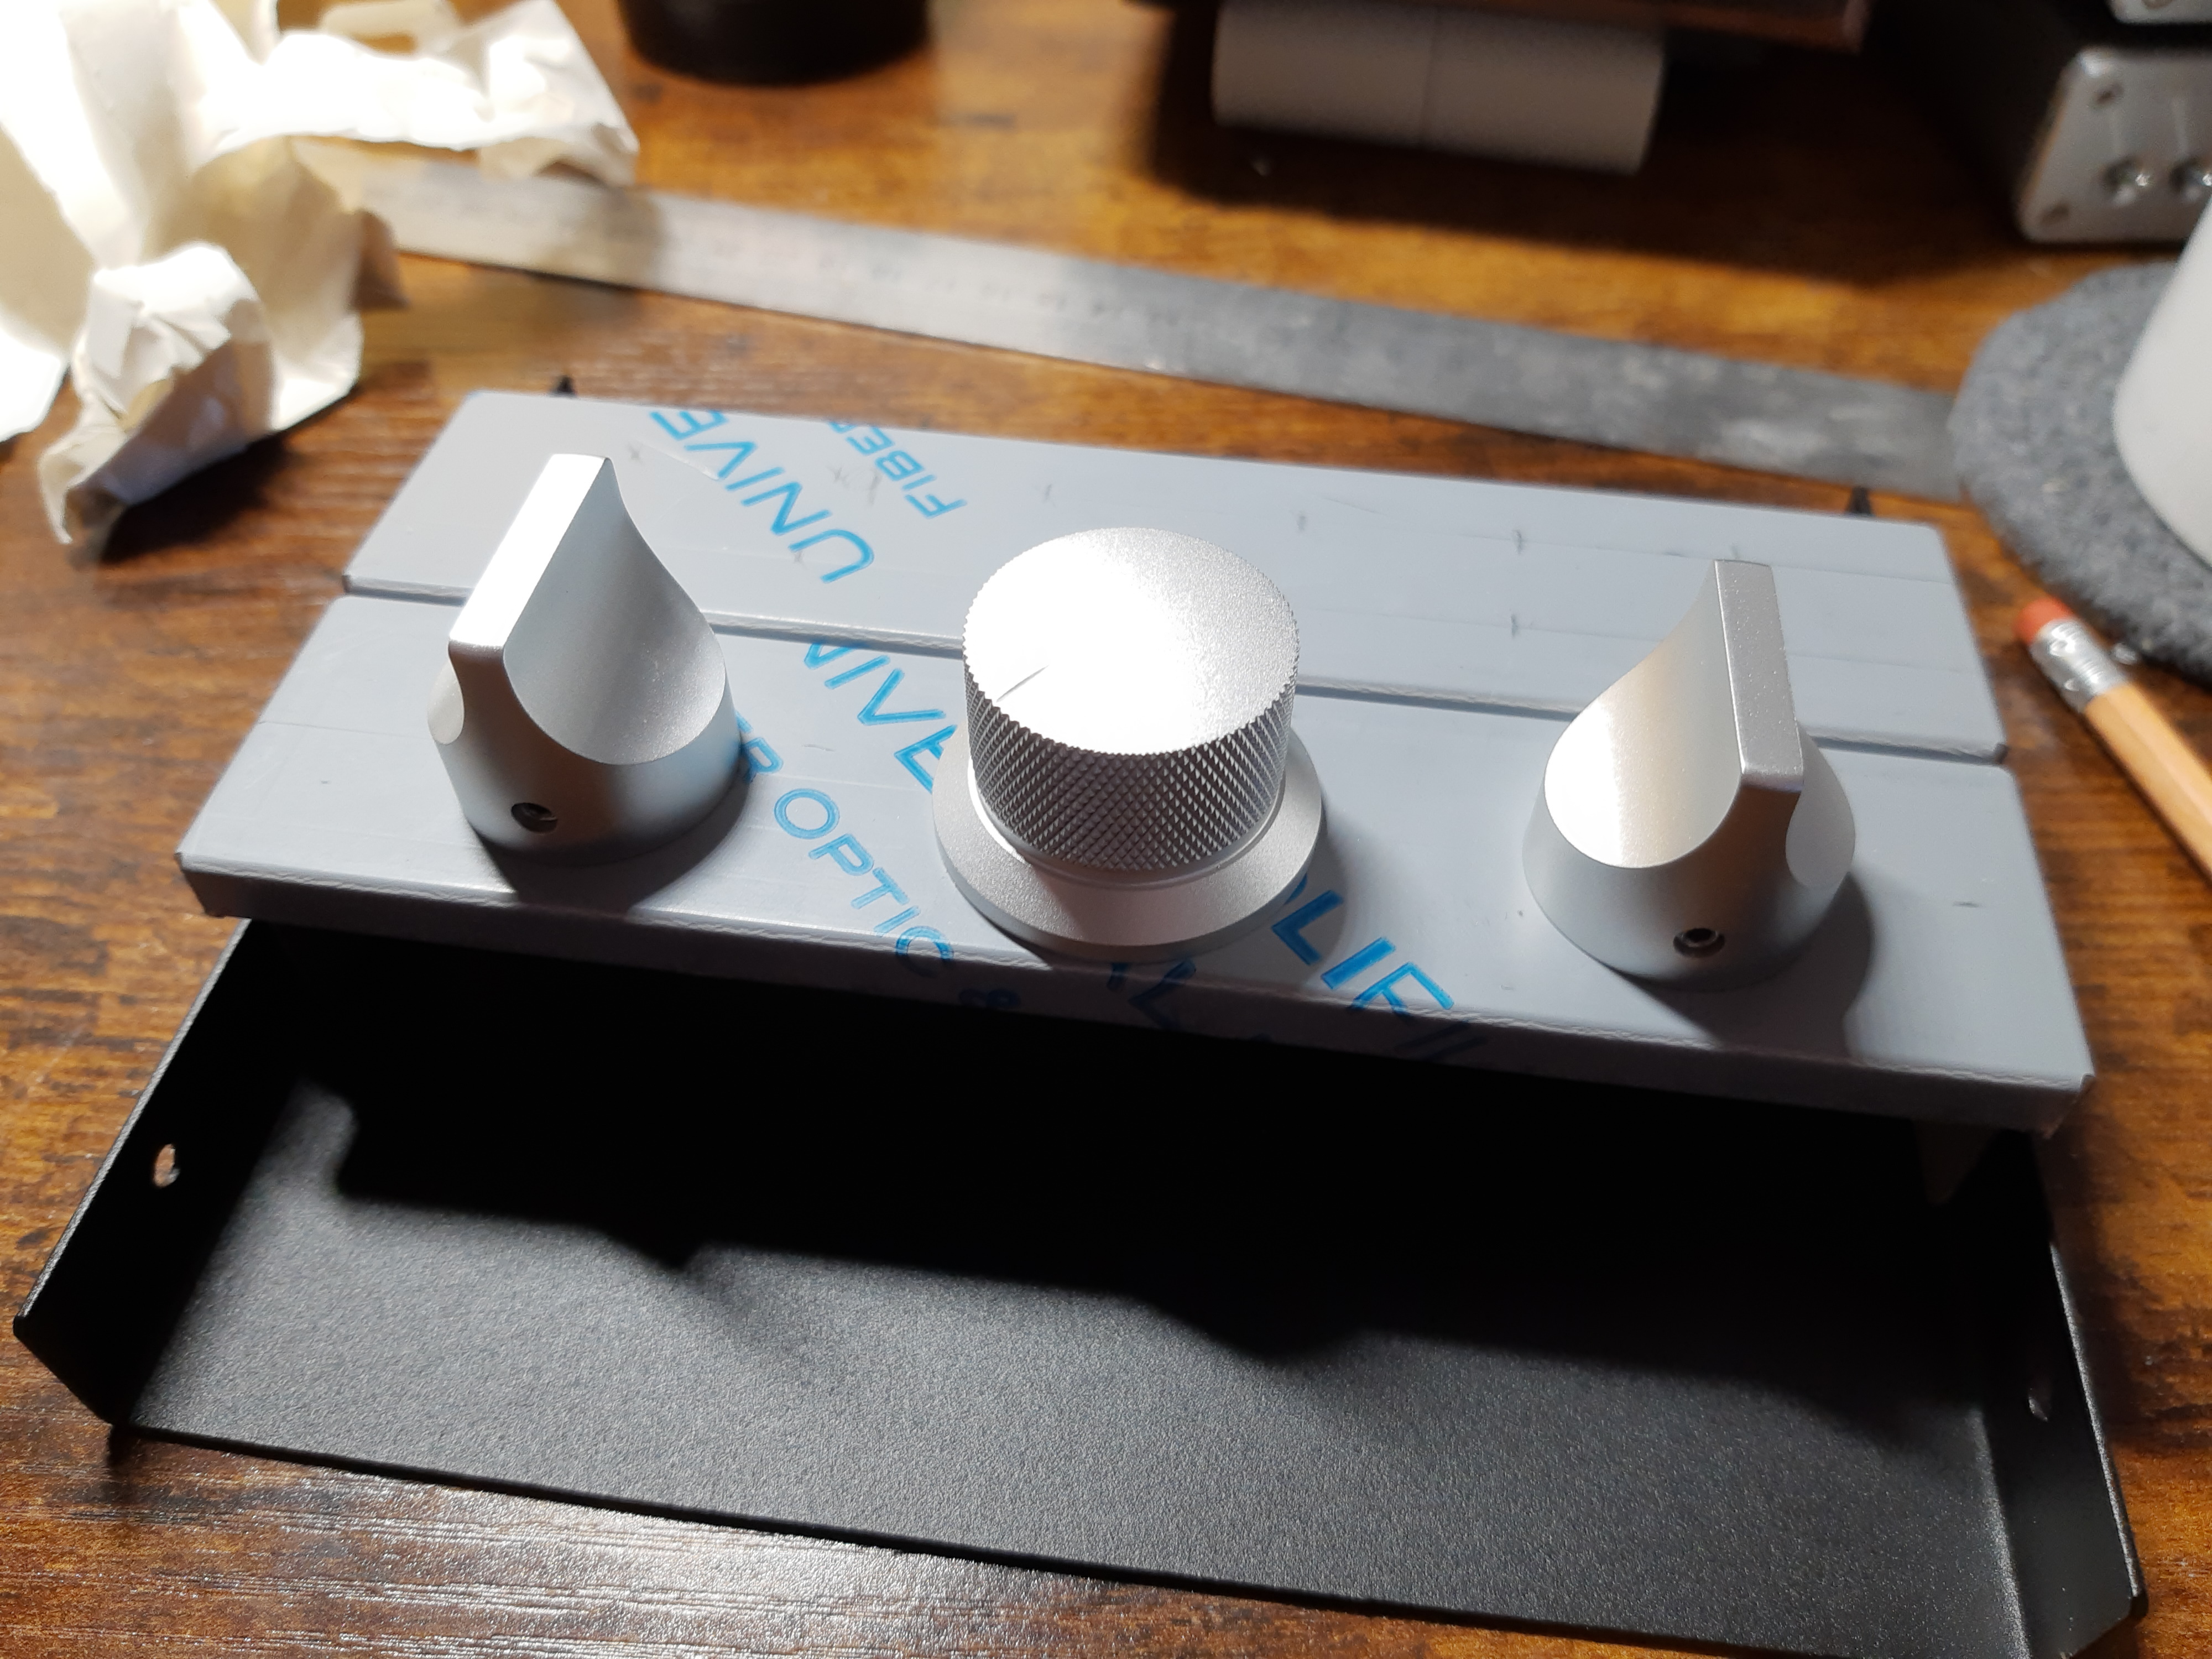
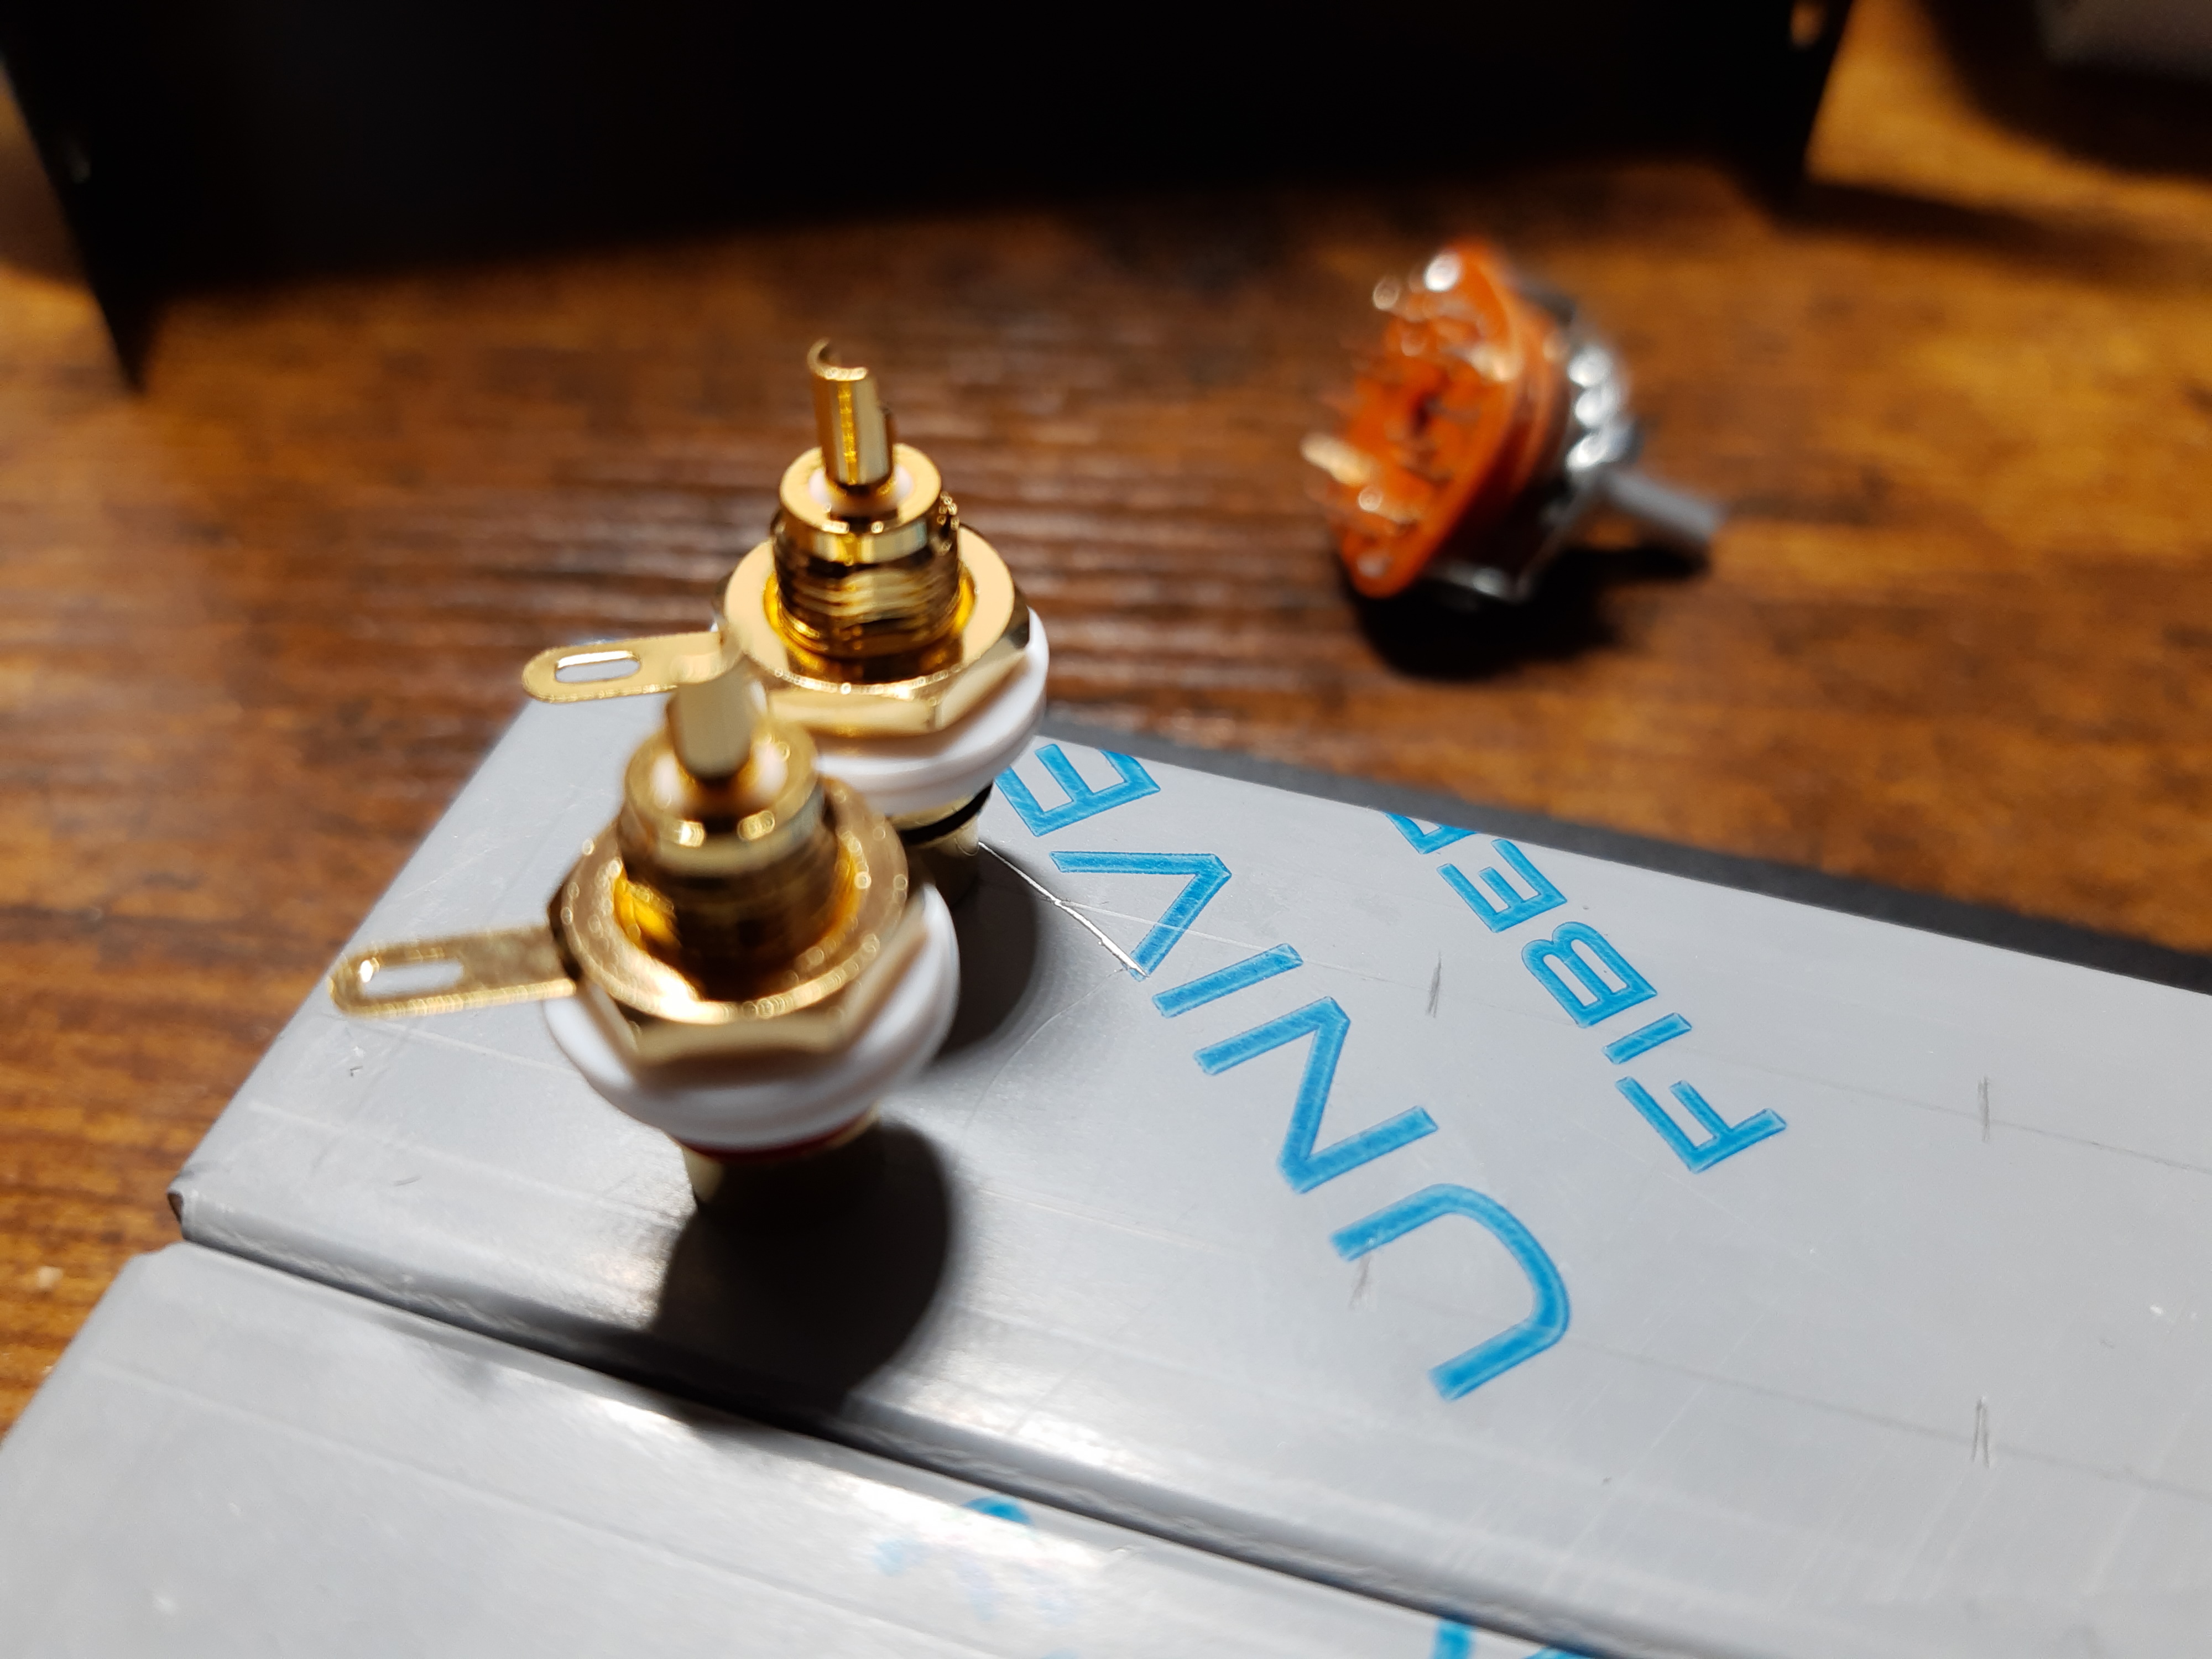
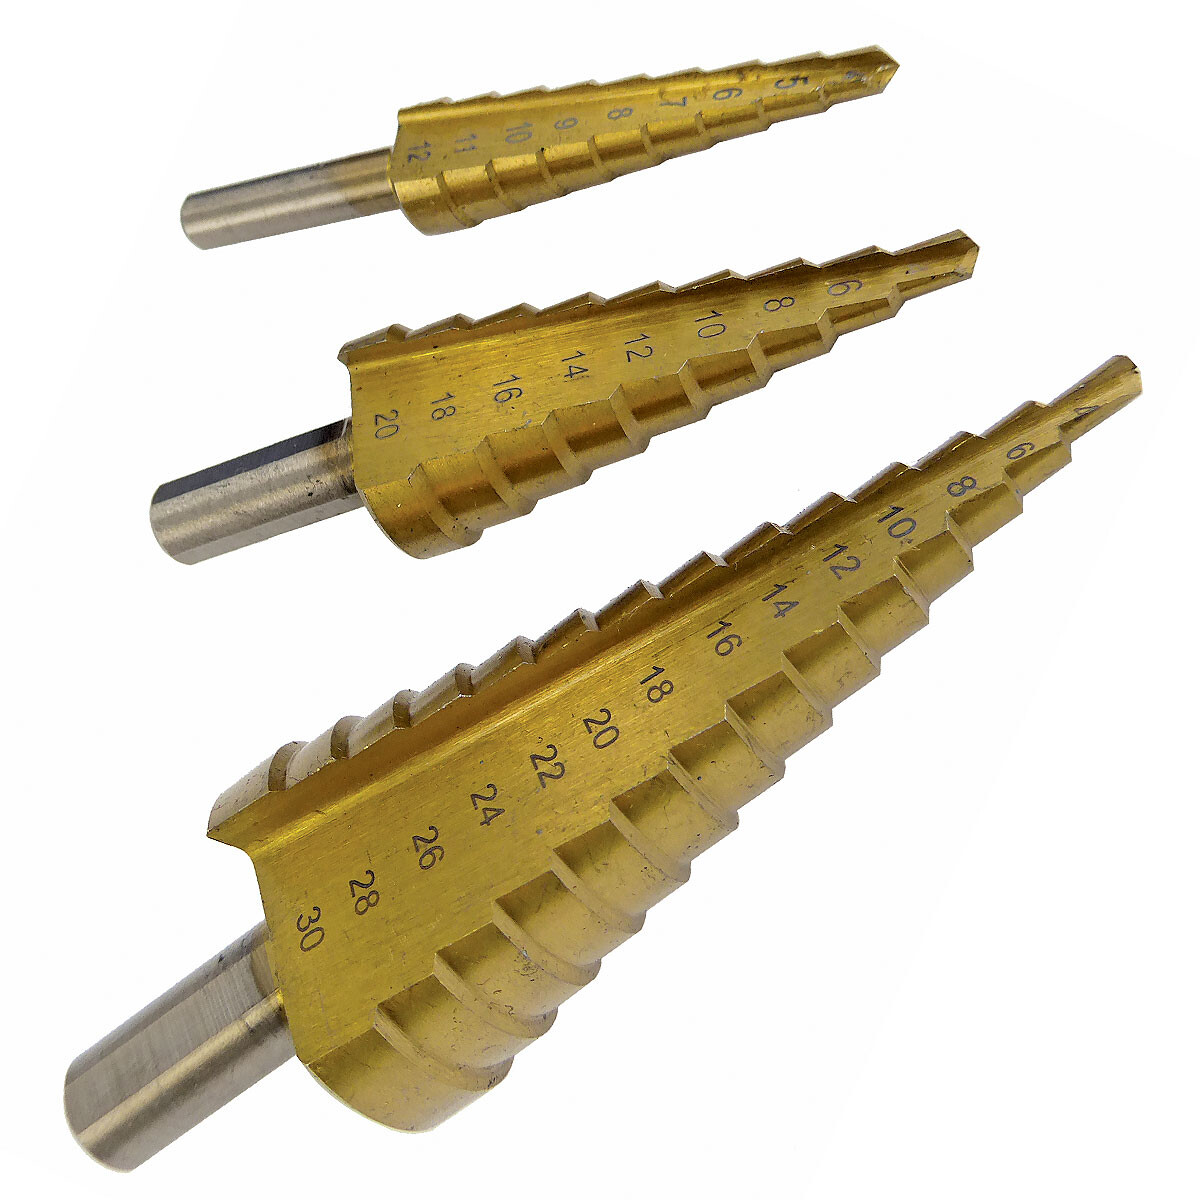
Drilling was not ideal. I realised I need a new drill as mine is old, heavy and hard to control when working with metal. I’ve not used it for metal before and one of the reasons I decided to do this build was to test my processes before I move on to build a Whammy amp. However I managed to overcome the issues and seat all the elements in the front and rear panels.
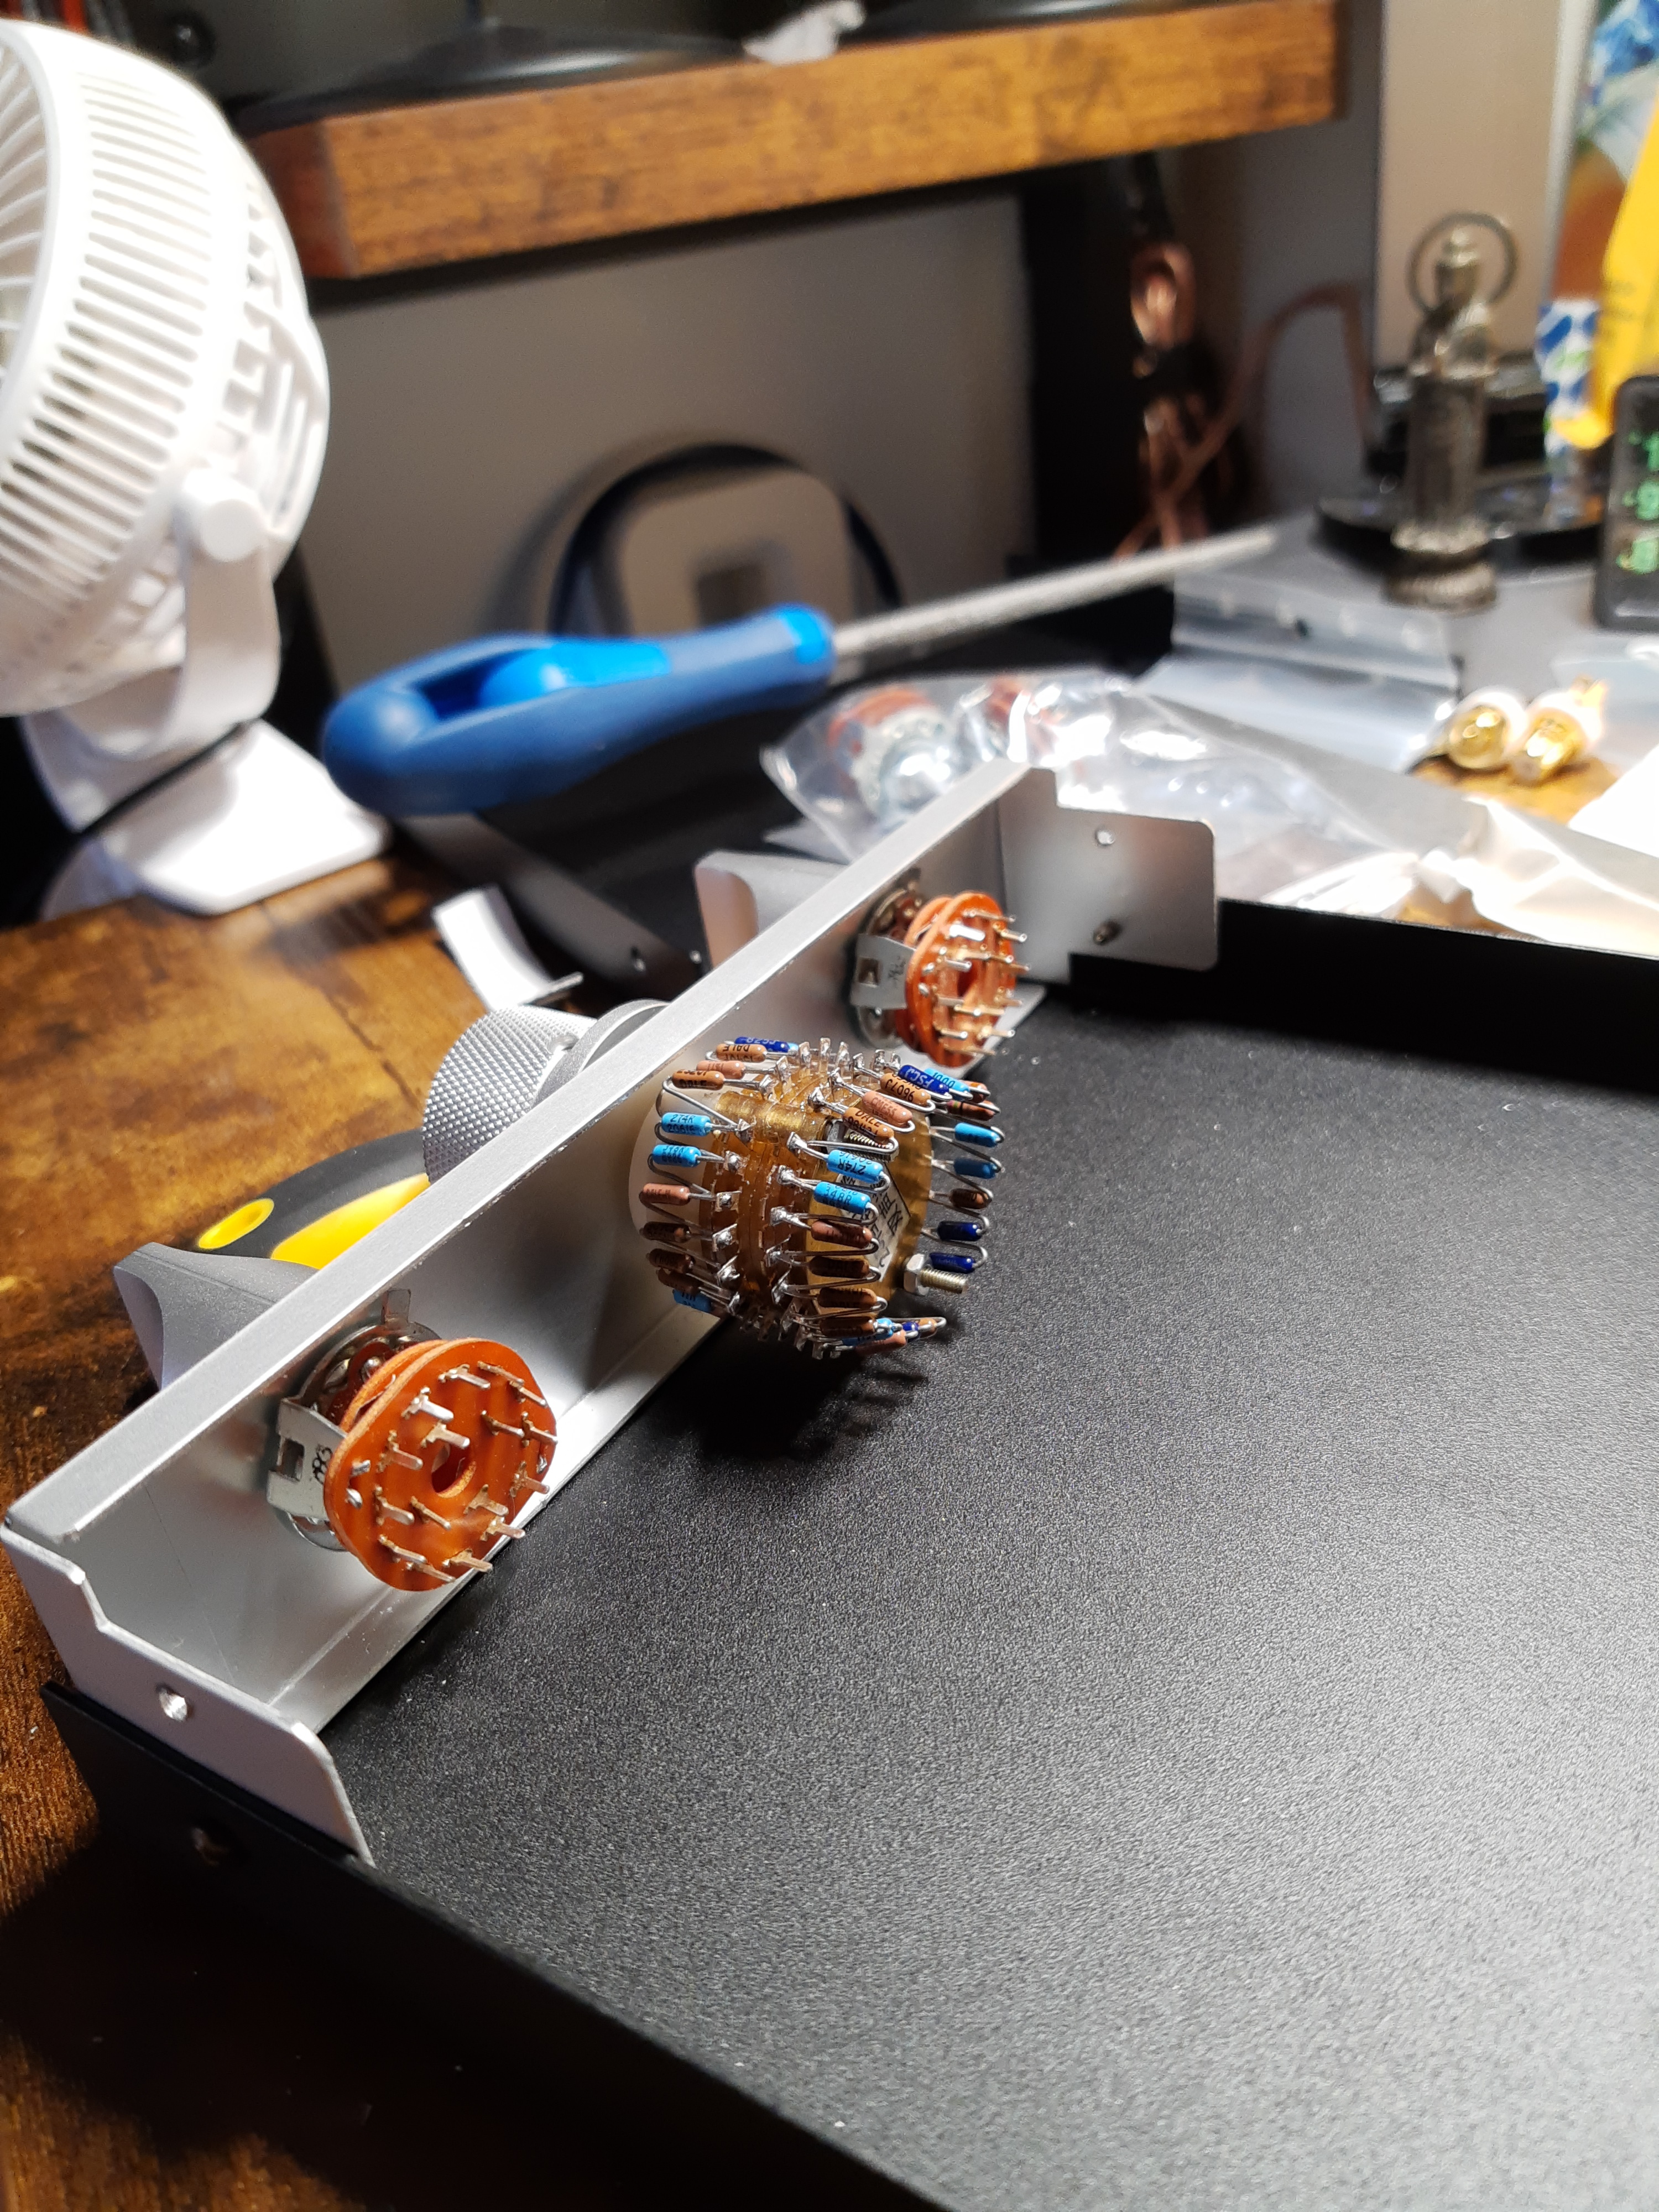
Two: Wiring
Next up I cut the cables into short sections, stripped the ends and tinned the wires. I decided to solder all the wires at the rotary selector and the potentiometer. This seemed to go well but as I discovered later I had a pair of wires on the right channel crossed on both the input and output. In hindsight I could have marked up the rear of the rotary selectors since they lack connection indicators.
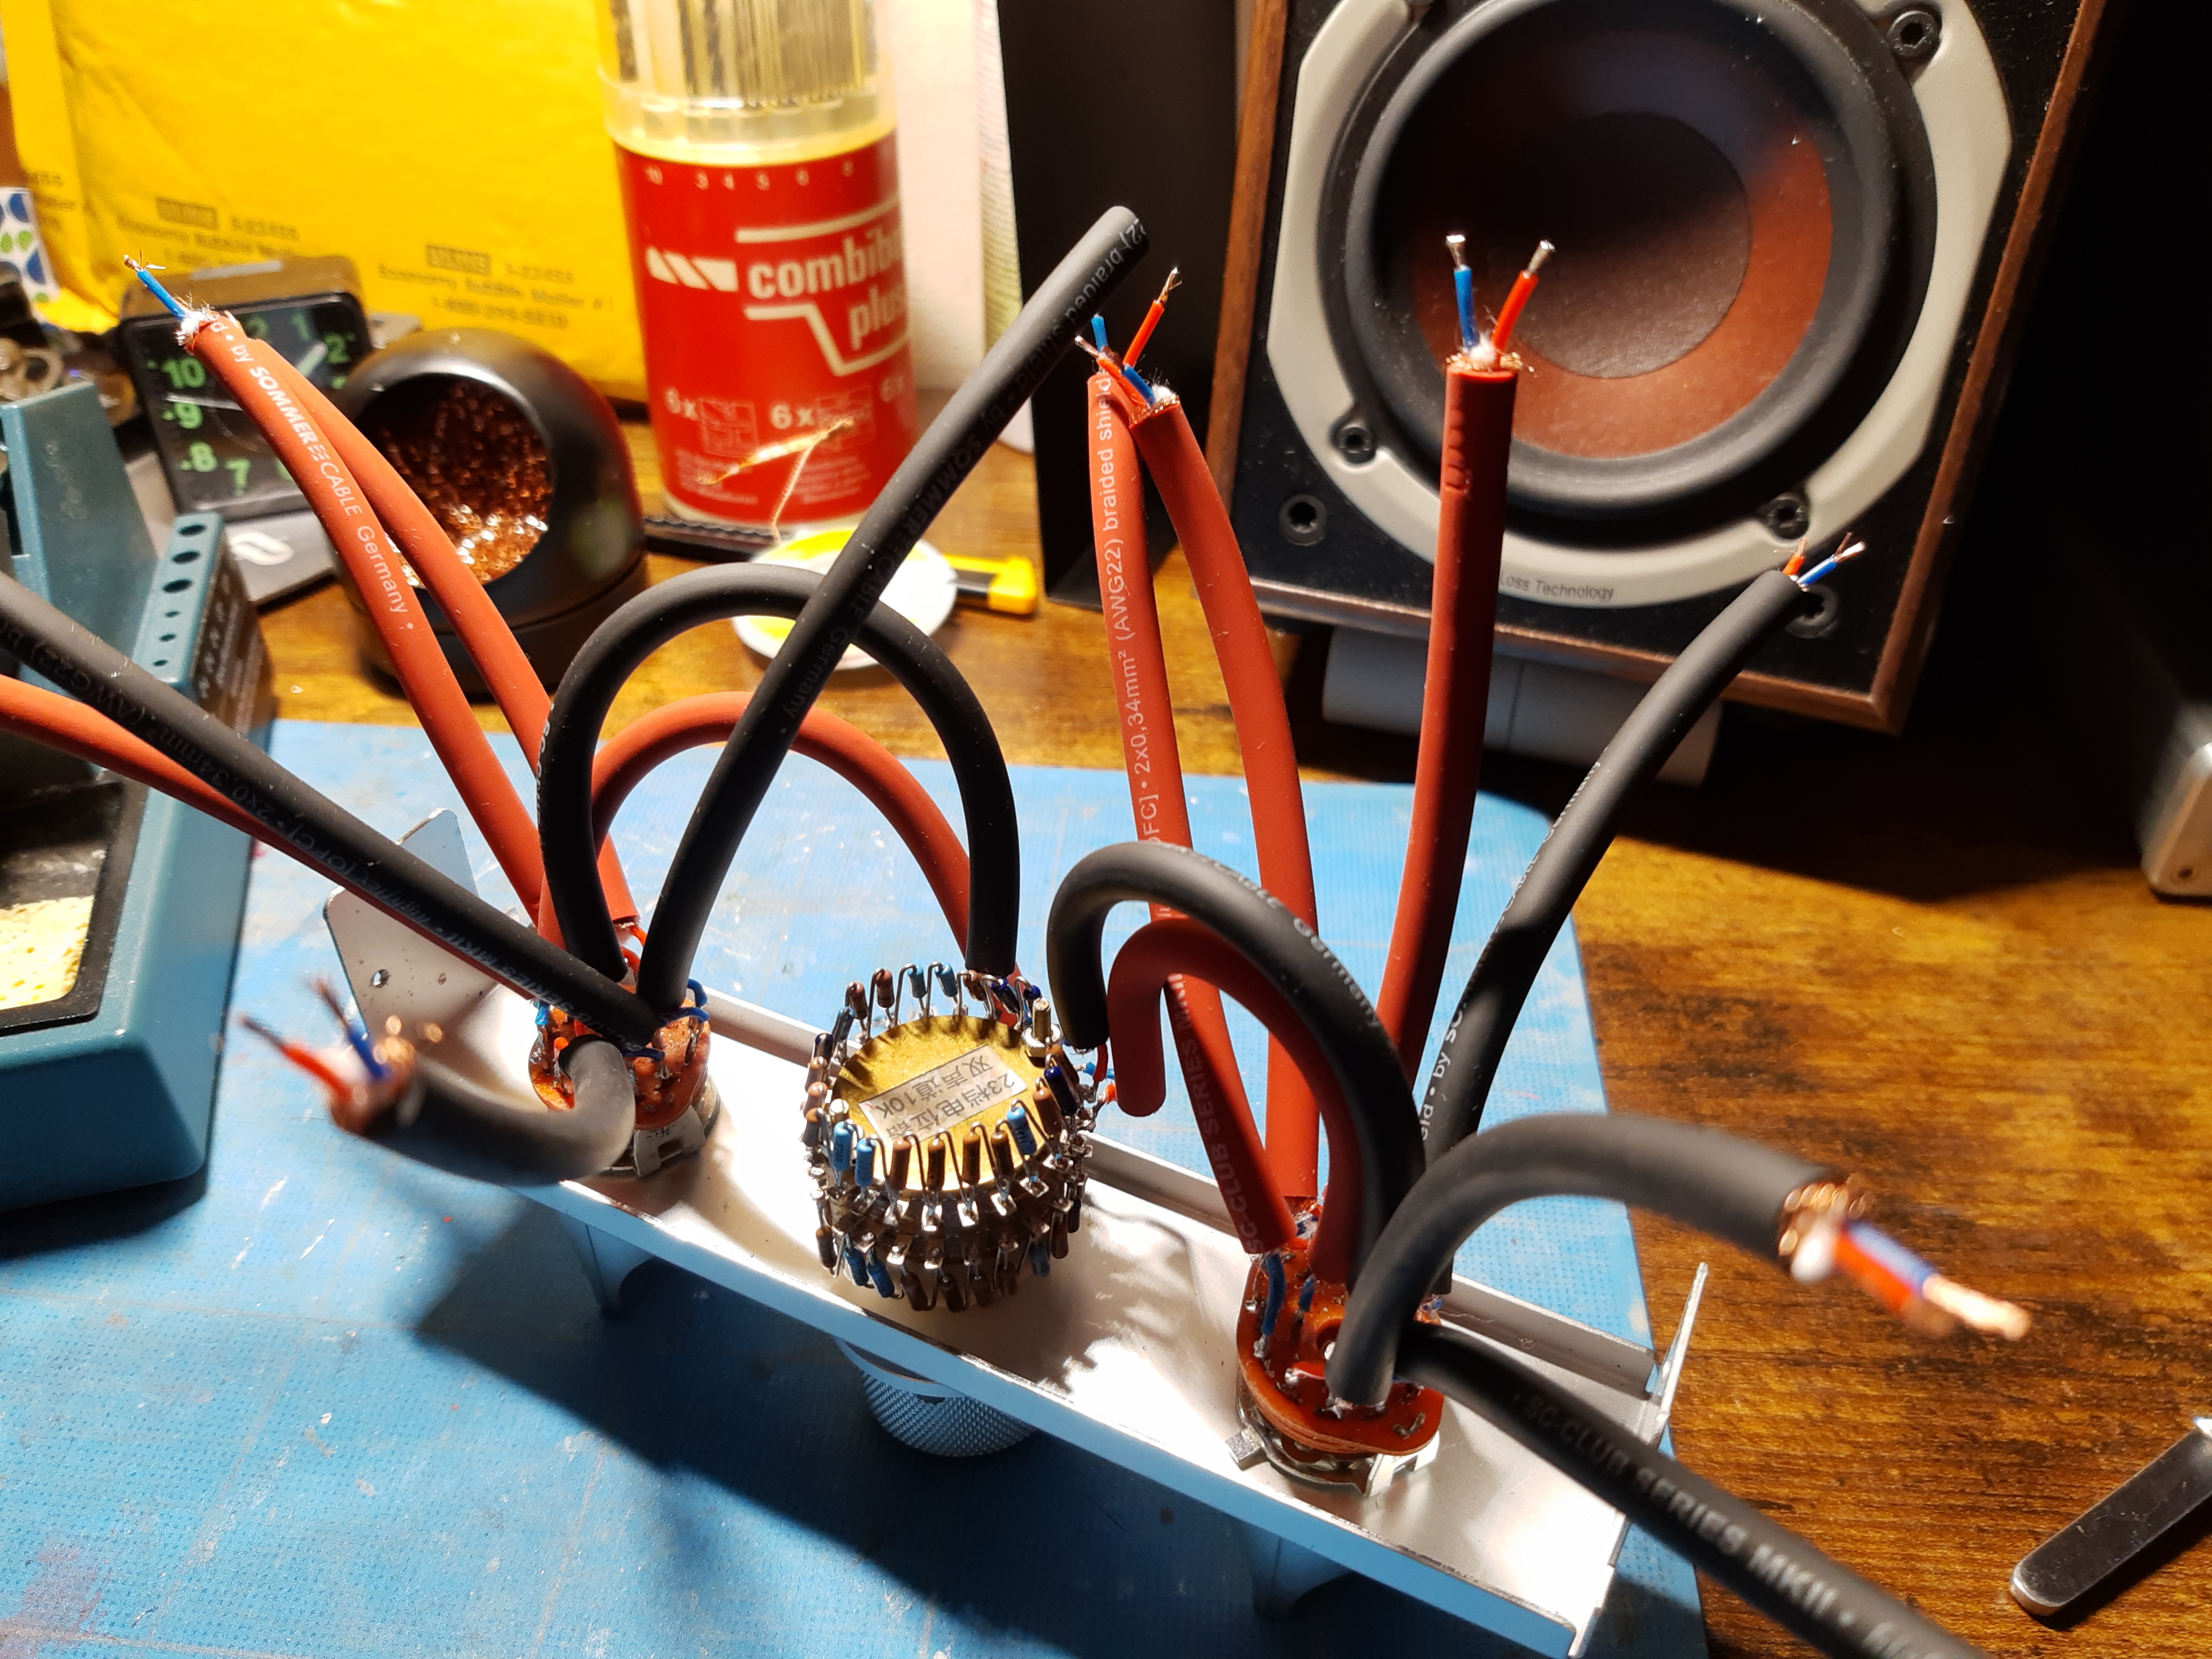
Next I located the front and rear panels in the case without fixing them and connected the wires to the rca sockets.
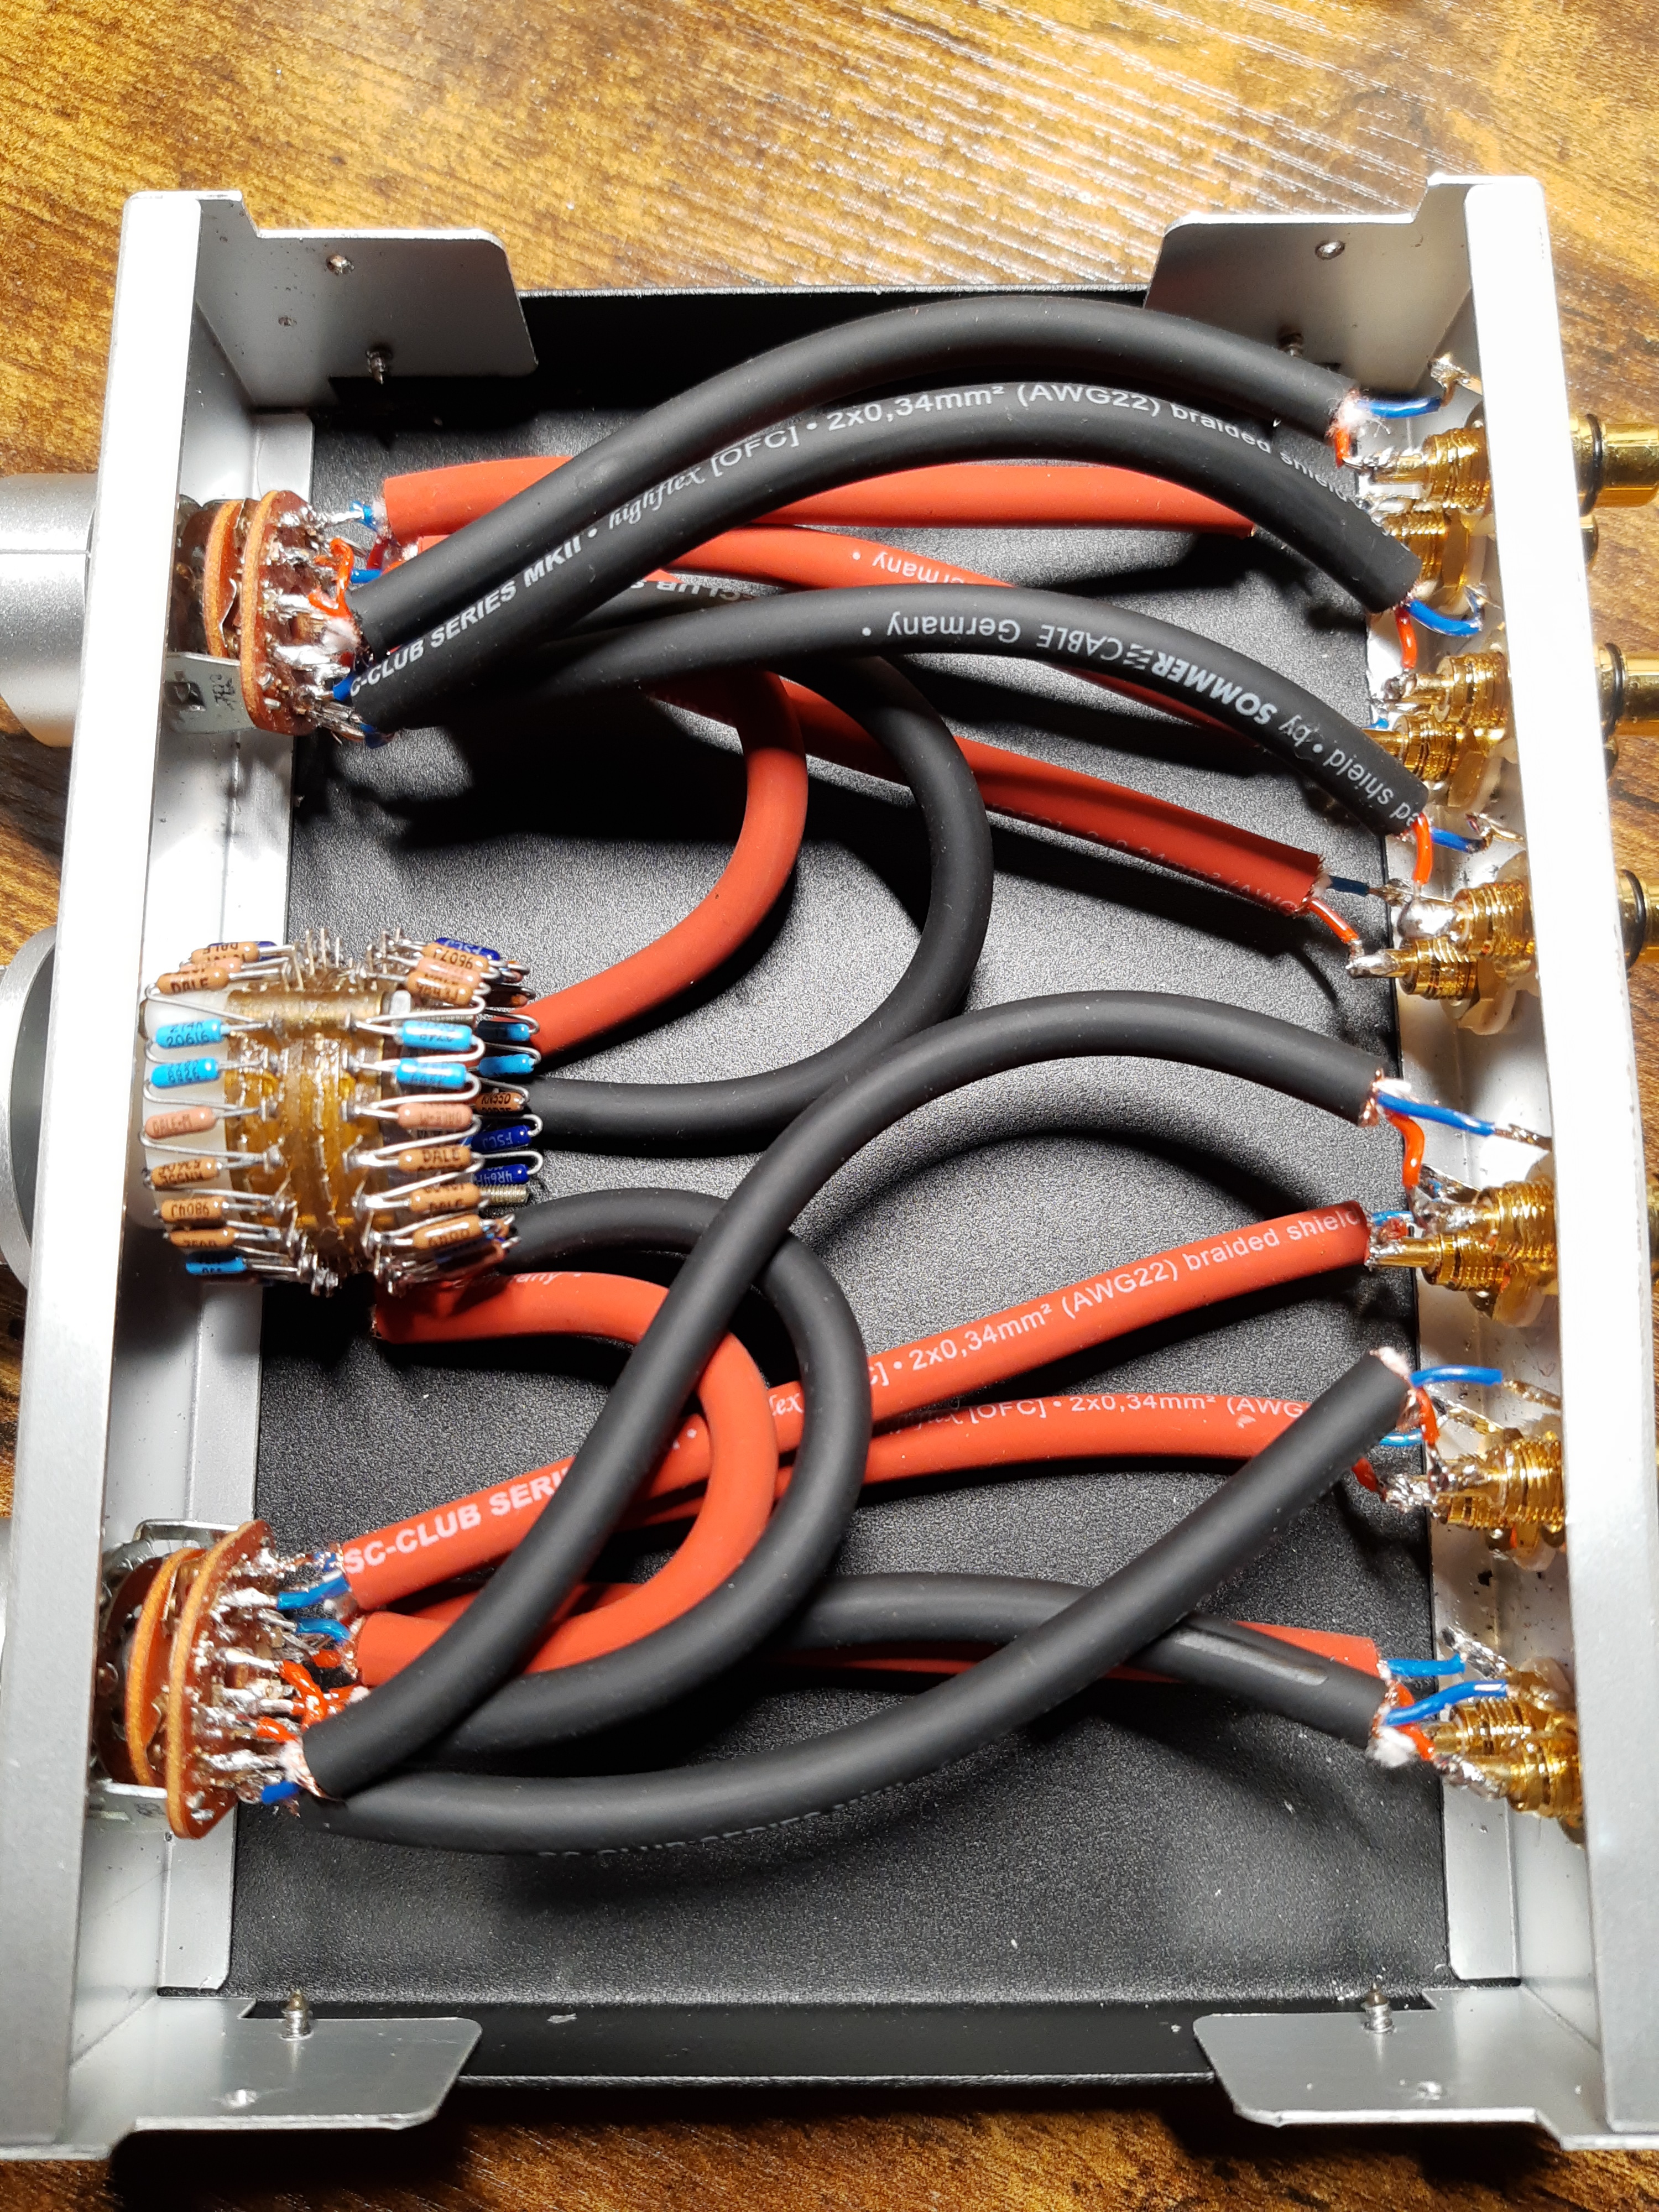
I then tested the unit and discovered the issue with the crossed wires. Once I diagnosed and resolved it with the help of a multimeter I resoldered the wires correctly. At this point a made an open box test setup to confirm everything was now working correctly. Success!!
Conclusion
The finished box.
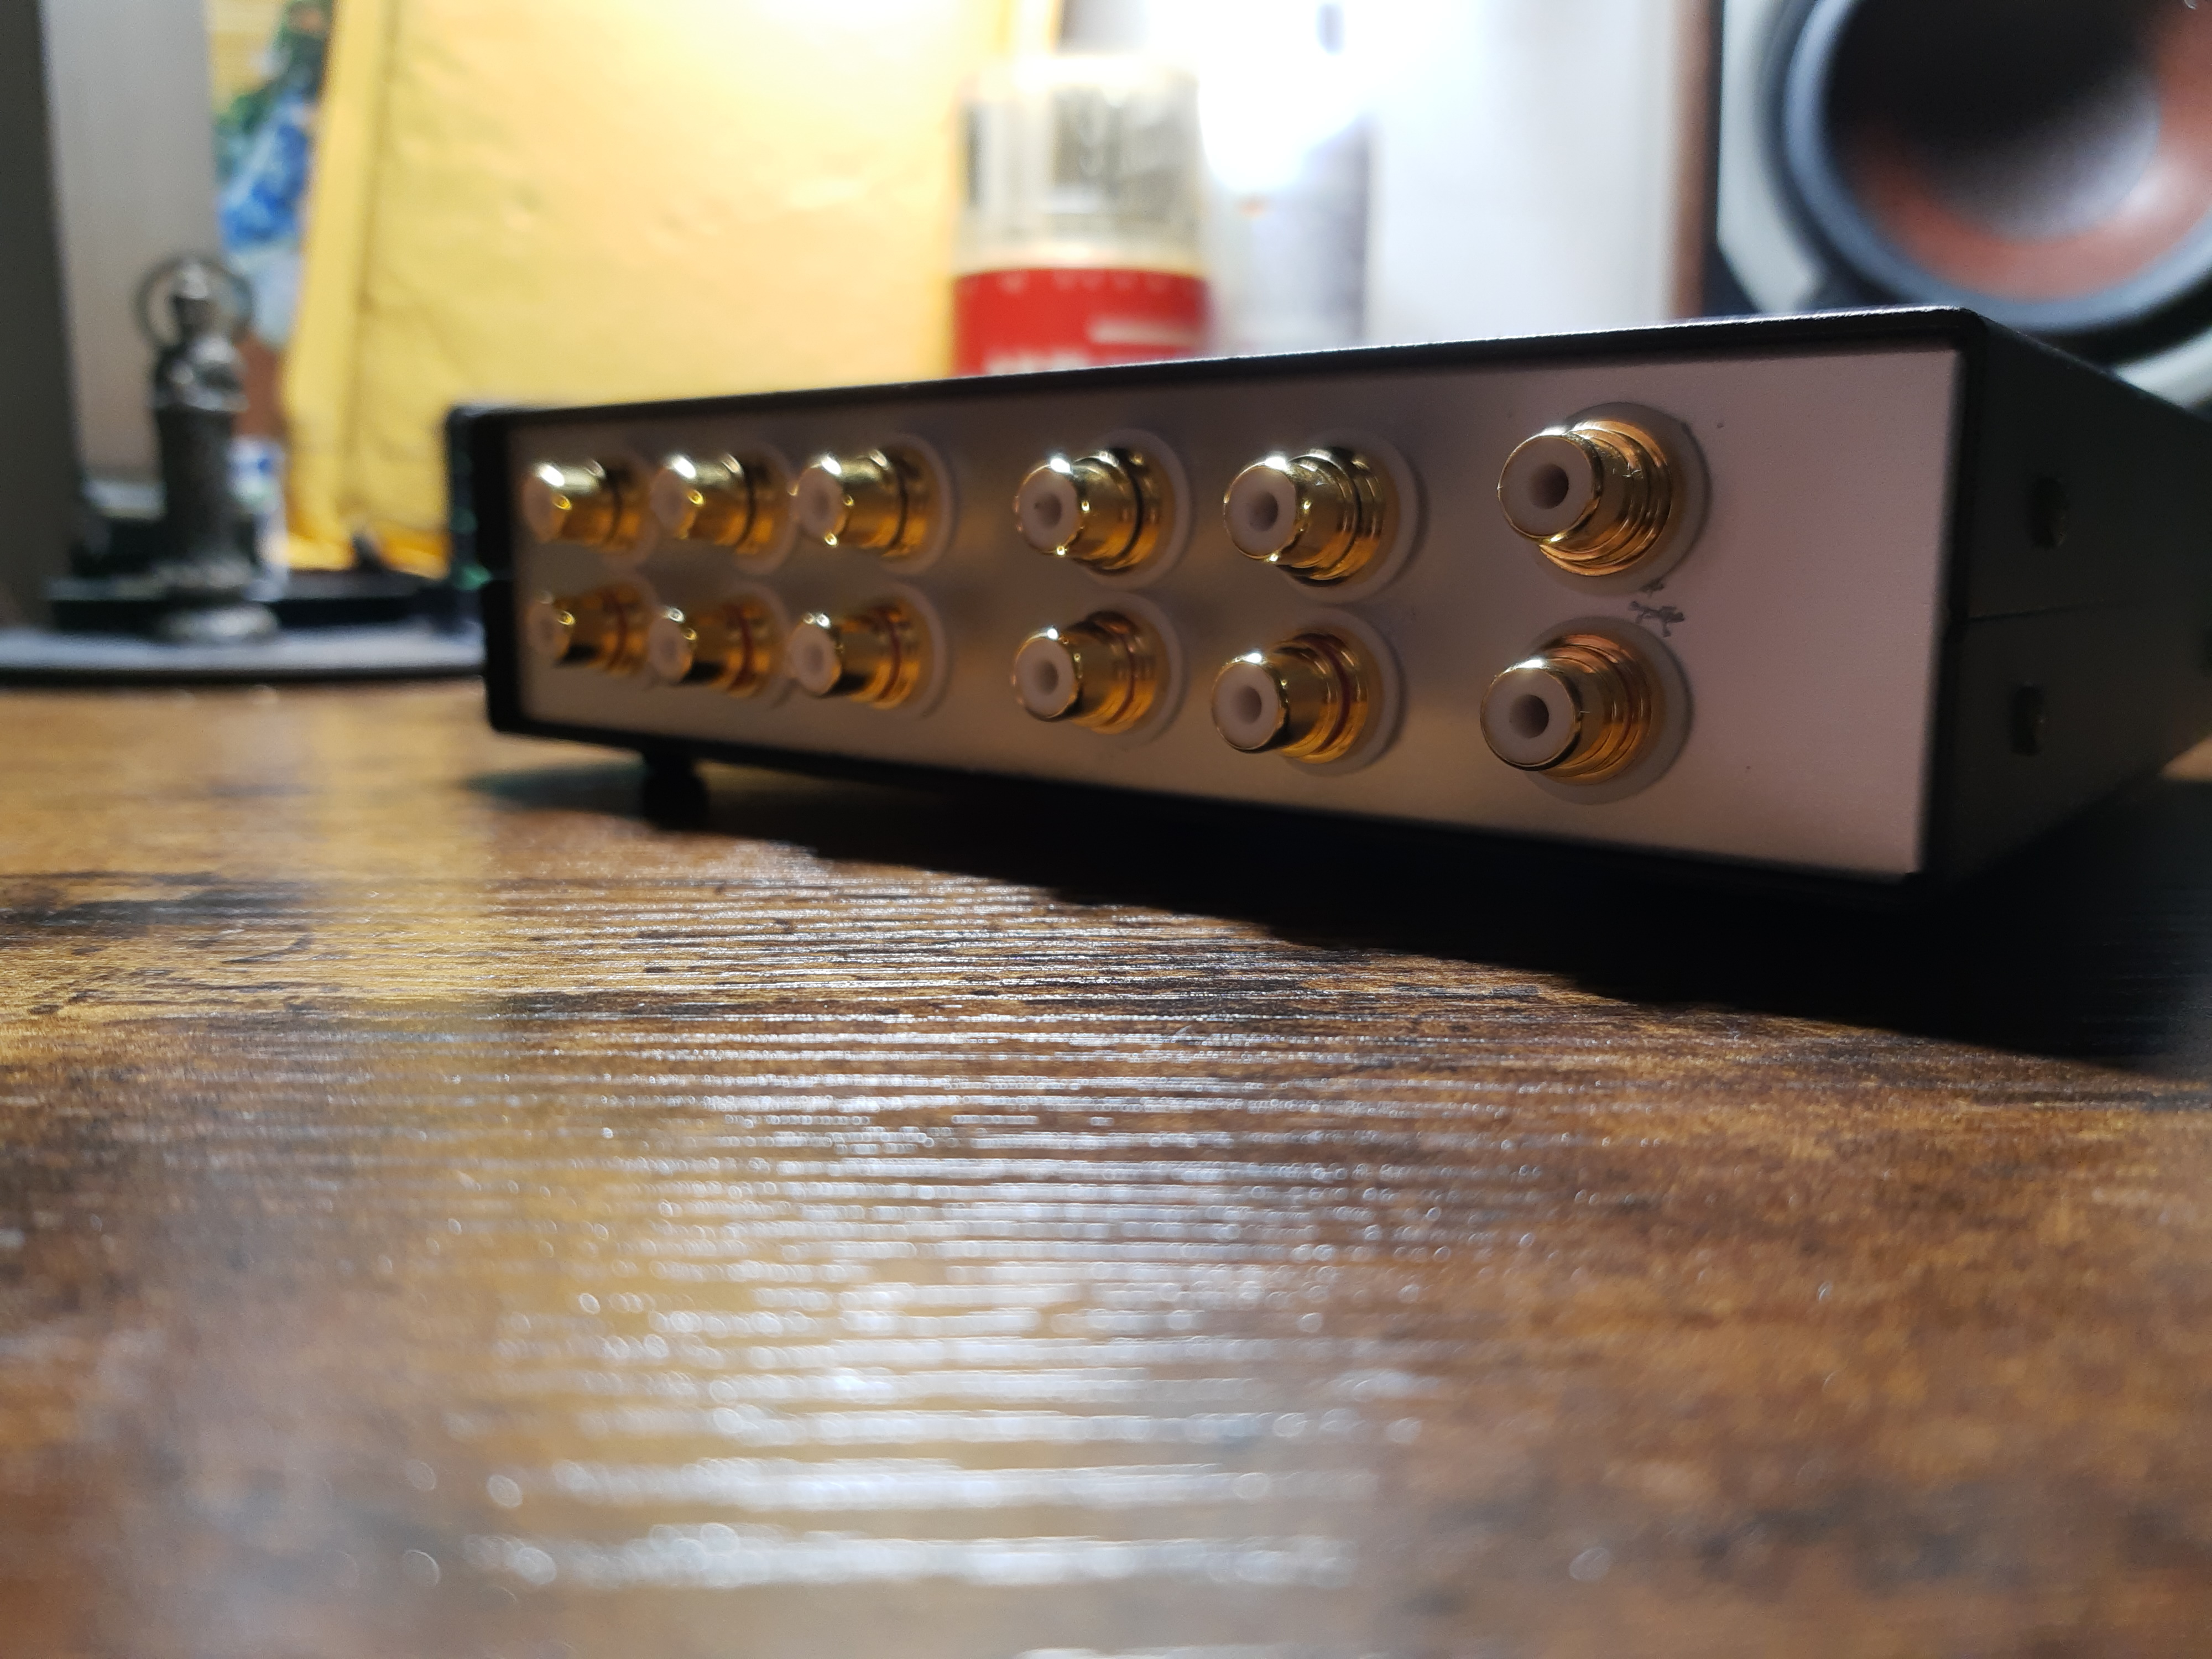
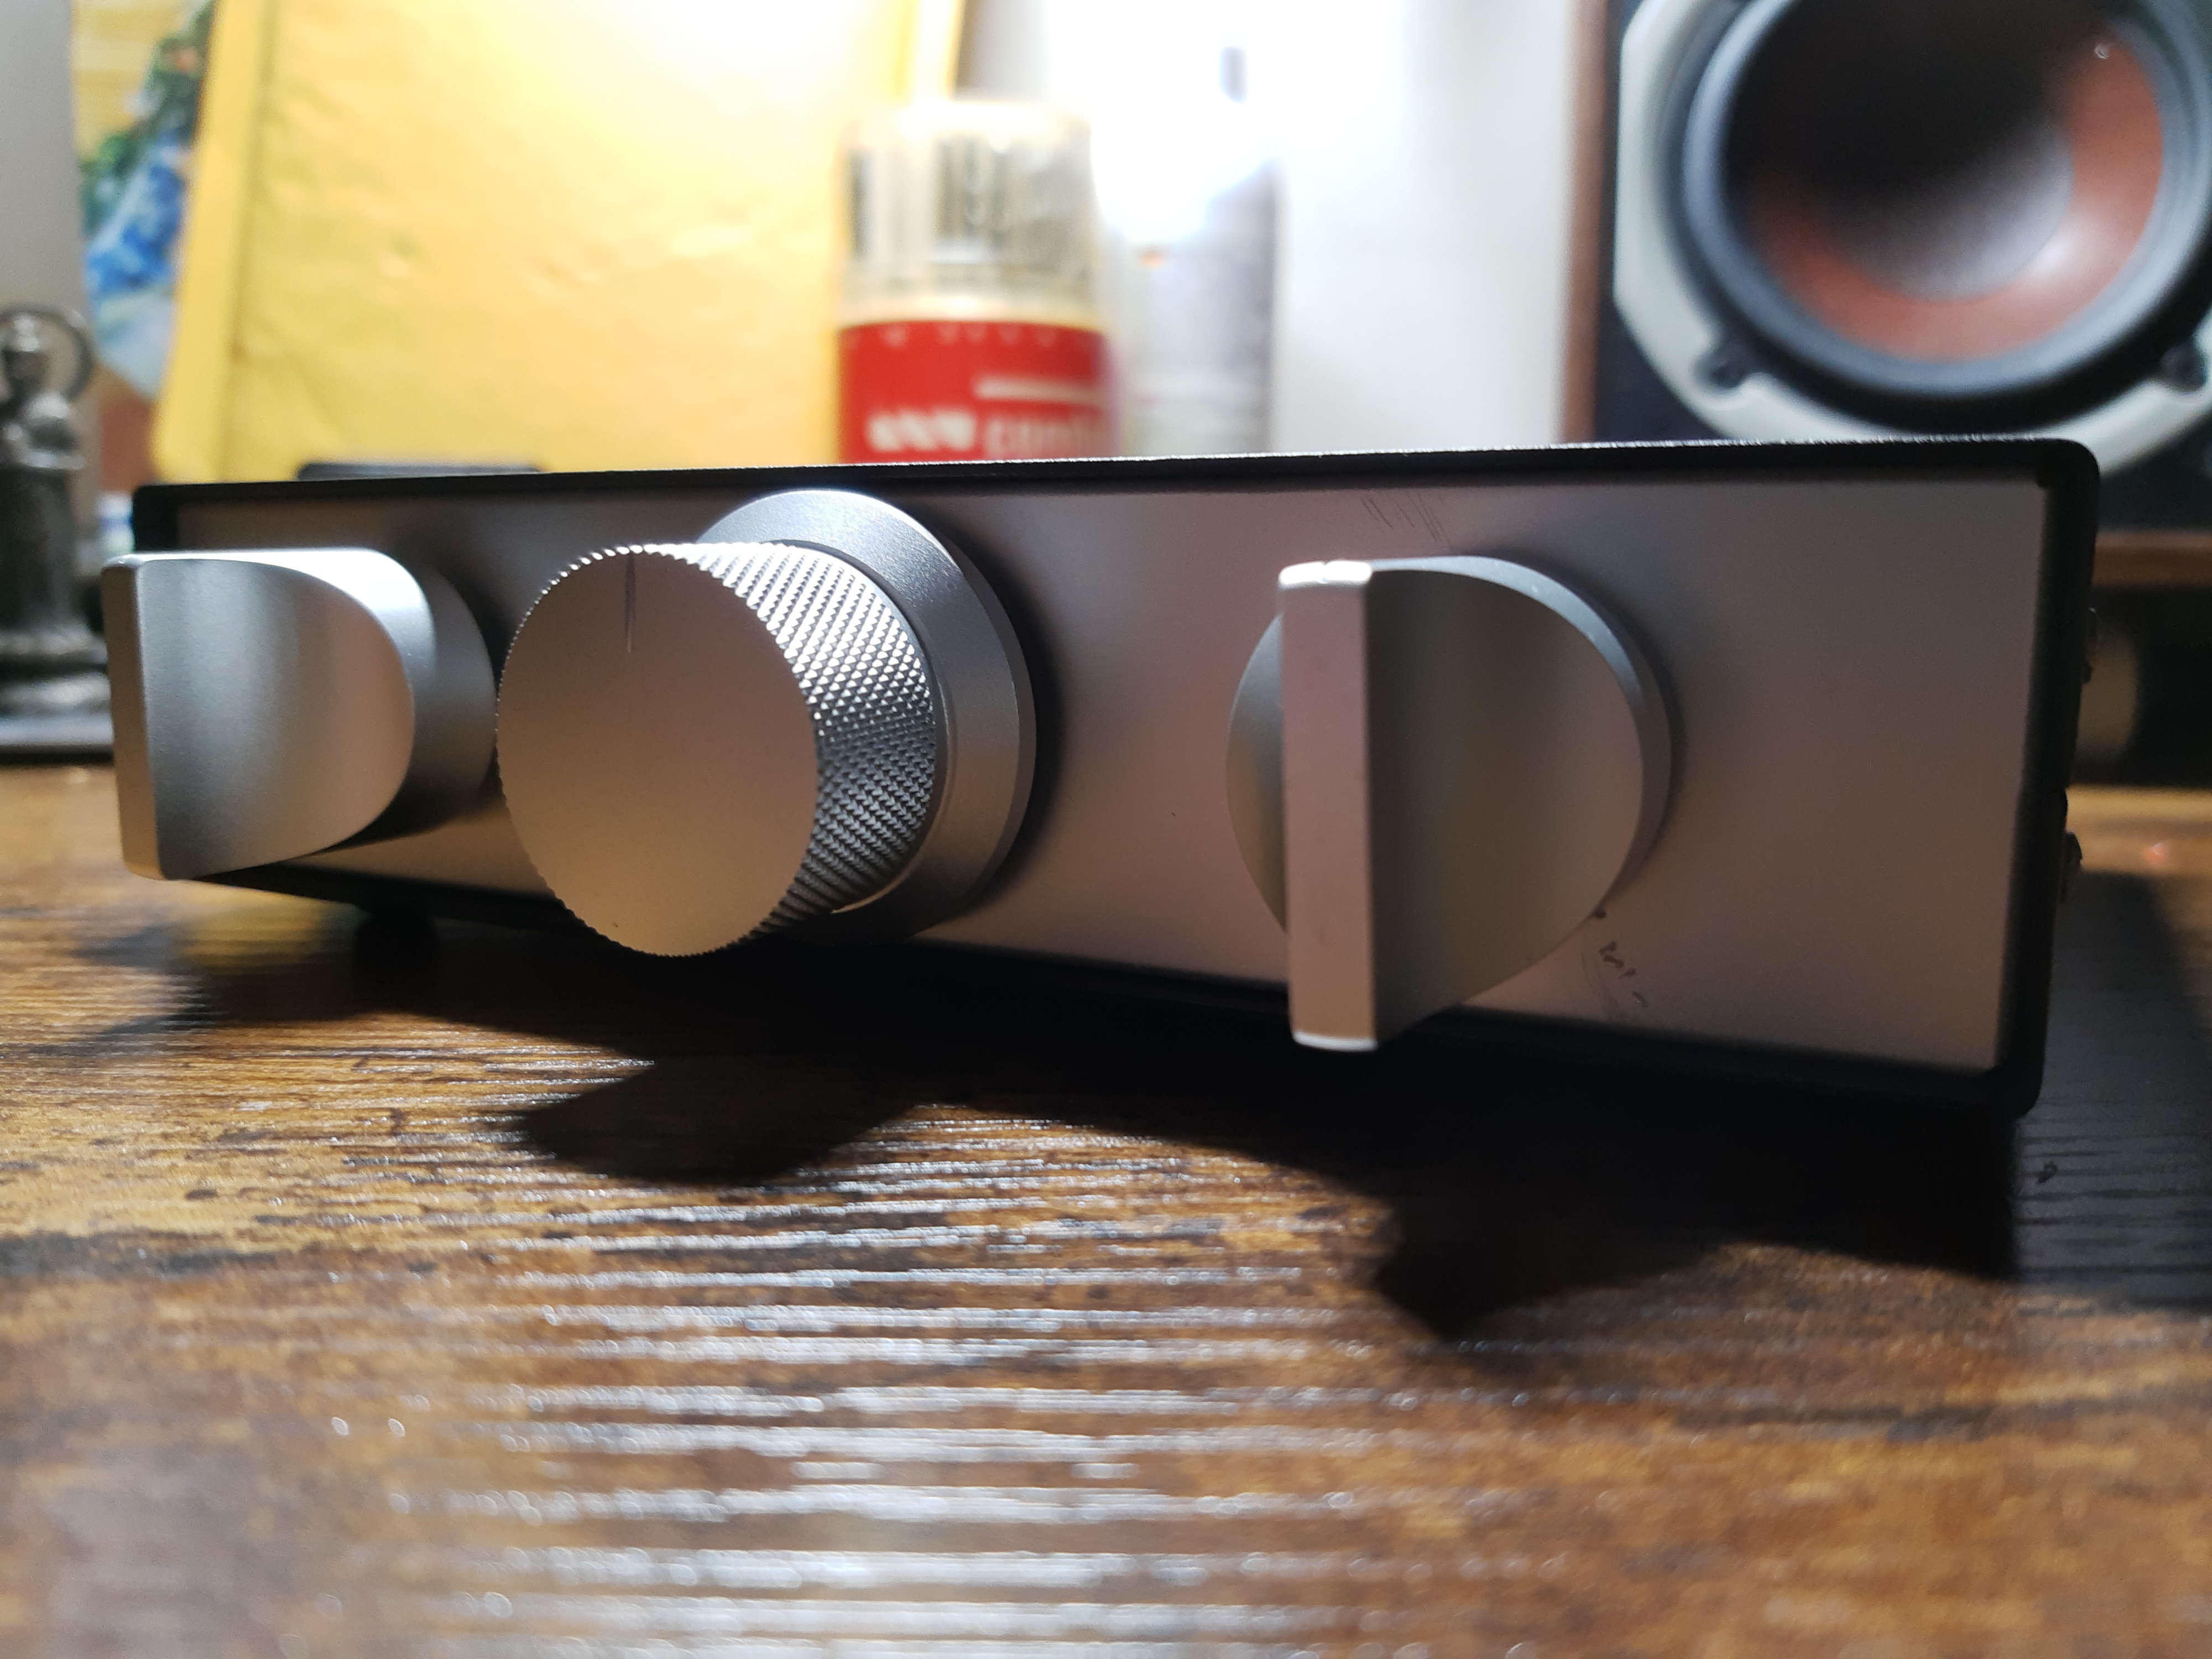
The light scratches are much less visible in actual use and I can’t see the slightly out of line rca sockets. Other than that I am extremely happy with how it turned out. As far as I can tell it sounds transparent. I can detect no change in the sound when compared to the same signal with/without switch box. The volume pot has a really satisfying heavy click. It’s not intended to be changed often but is more a set and forget until needed. I’m very glad I spent more on the dials as the are satisfyingly heavy.